


AEROPRESS BREWING GUIDE
If you're into far-flung ideas, you'll love the AeroPress. Invented by the same guy who thought up the Aerobie (those Frisbee-like things you can fling, like, two football fields) the AeroPress is a lightweight, portable brewing device noted for using pressure and a short brew time.
The AeroPress is perfect if you just want a single cup. We love it because it travels well (just like those Aerobies!), and because it's easy to use, you won't be tempted to fling it against the wall. Take it camping -- and bring an Aerobie if you want to fling something!
This guide will produce one 7oz cup for the classic Aeropress, and a 6oz. cup for the Aeropress Go.
RATIO: 1:15 (i.e. 15g coffee, 225g water)
GRIND: Like a seasoning rub
WHAT YOU'LL NEED:
- Aeropress
- Aeropress Filters
- 15g of Coffee
- Water Kettle
- Scale
- Grinder
STEP 1
PREPARE
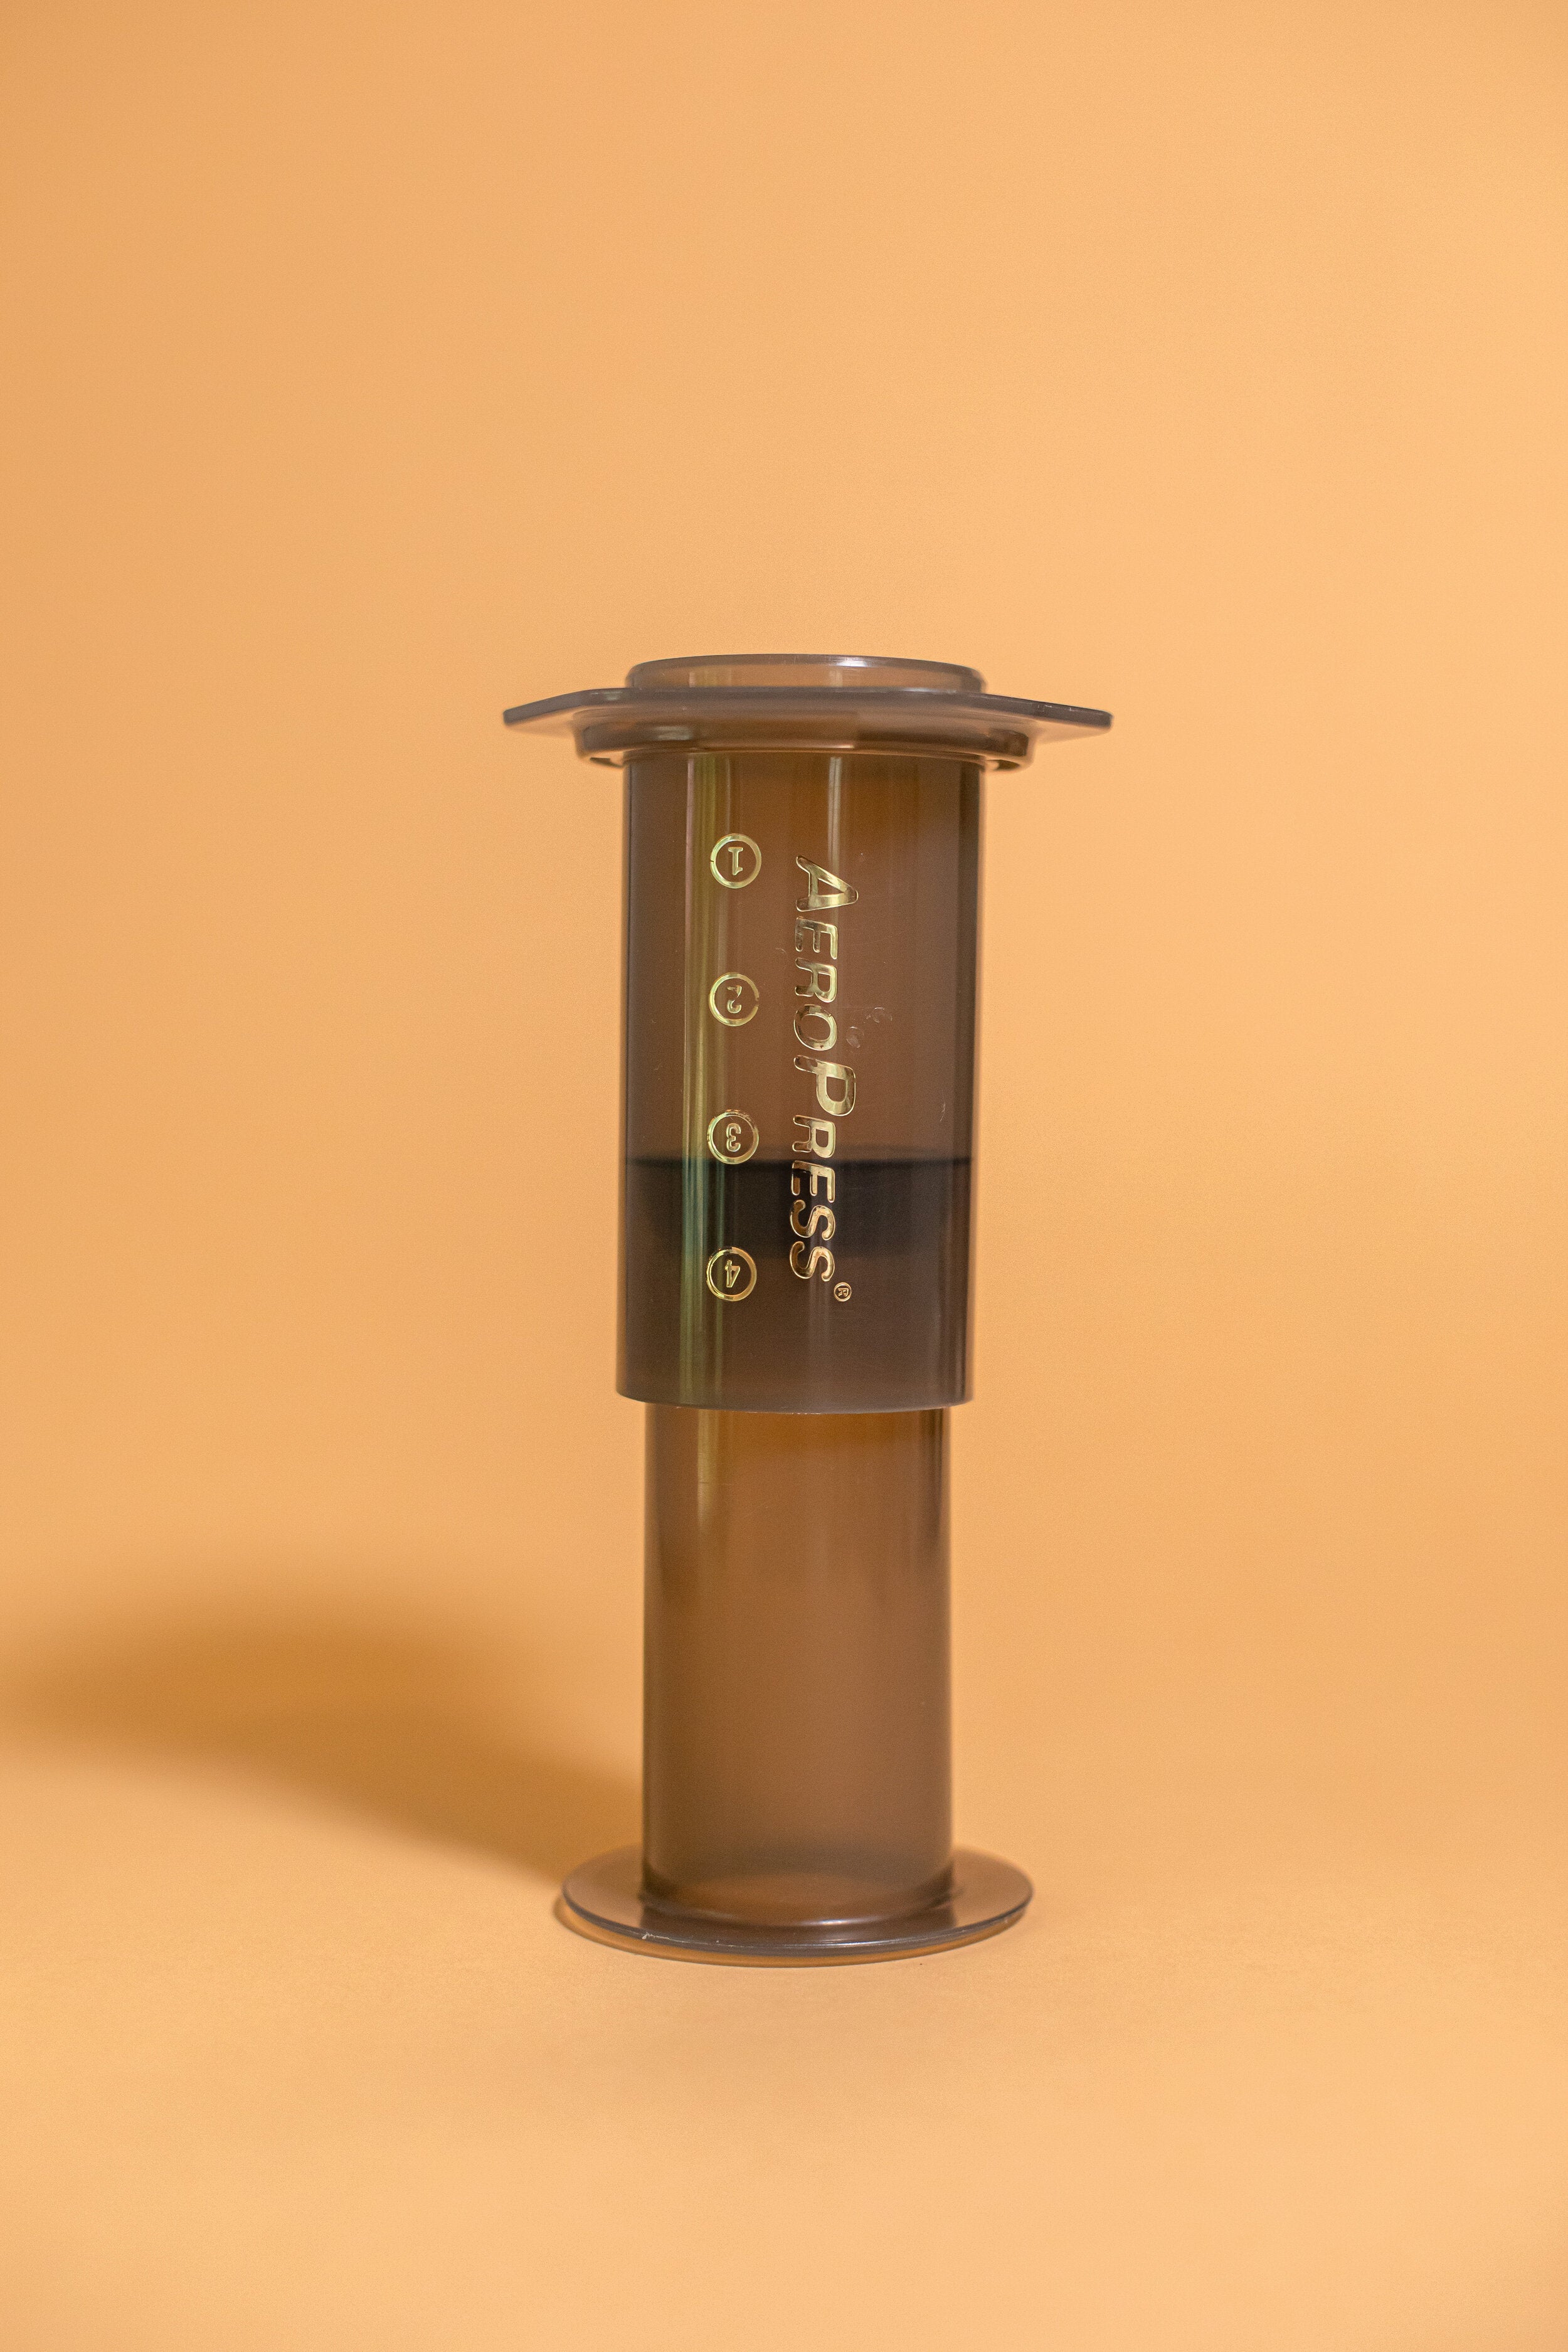
We'll use the inverted method so start by placing the plunger in the chamber just under the highest number mark. Flip the assembly over and place on the scale with the chamber side up.
Aeropress Classic: Number 4
Aeropress Go: Number 3
Weigh out the coffee for your recipe. Fill kettle and heat water.
Aeropress Classic: 15 grams
Aeropress Go: 12 grams

STEP 2
WEIGH & GRIND
Grind coffee, similar to a seasoning rub. Weigh the appropriate amount of ground coffee into Aeropress and tare scale. Give it a gentle tap to flatten coffee bed.
Aeropress Classic: 15 grams
Aeropress Go: 12 grams
STEP 3
BREW
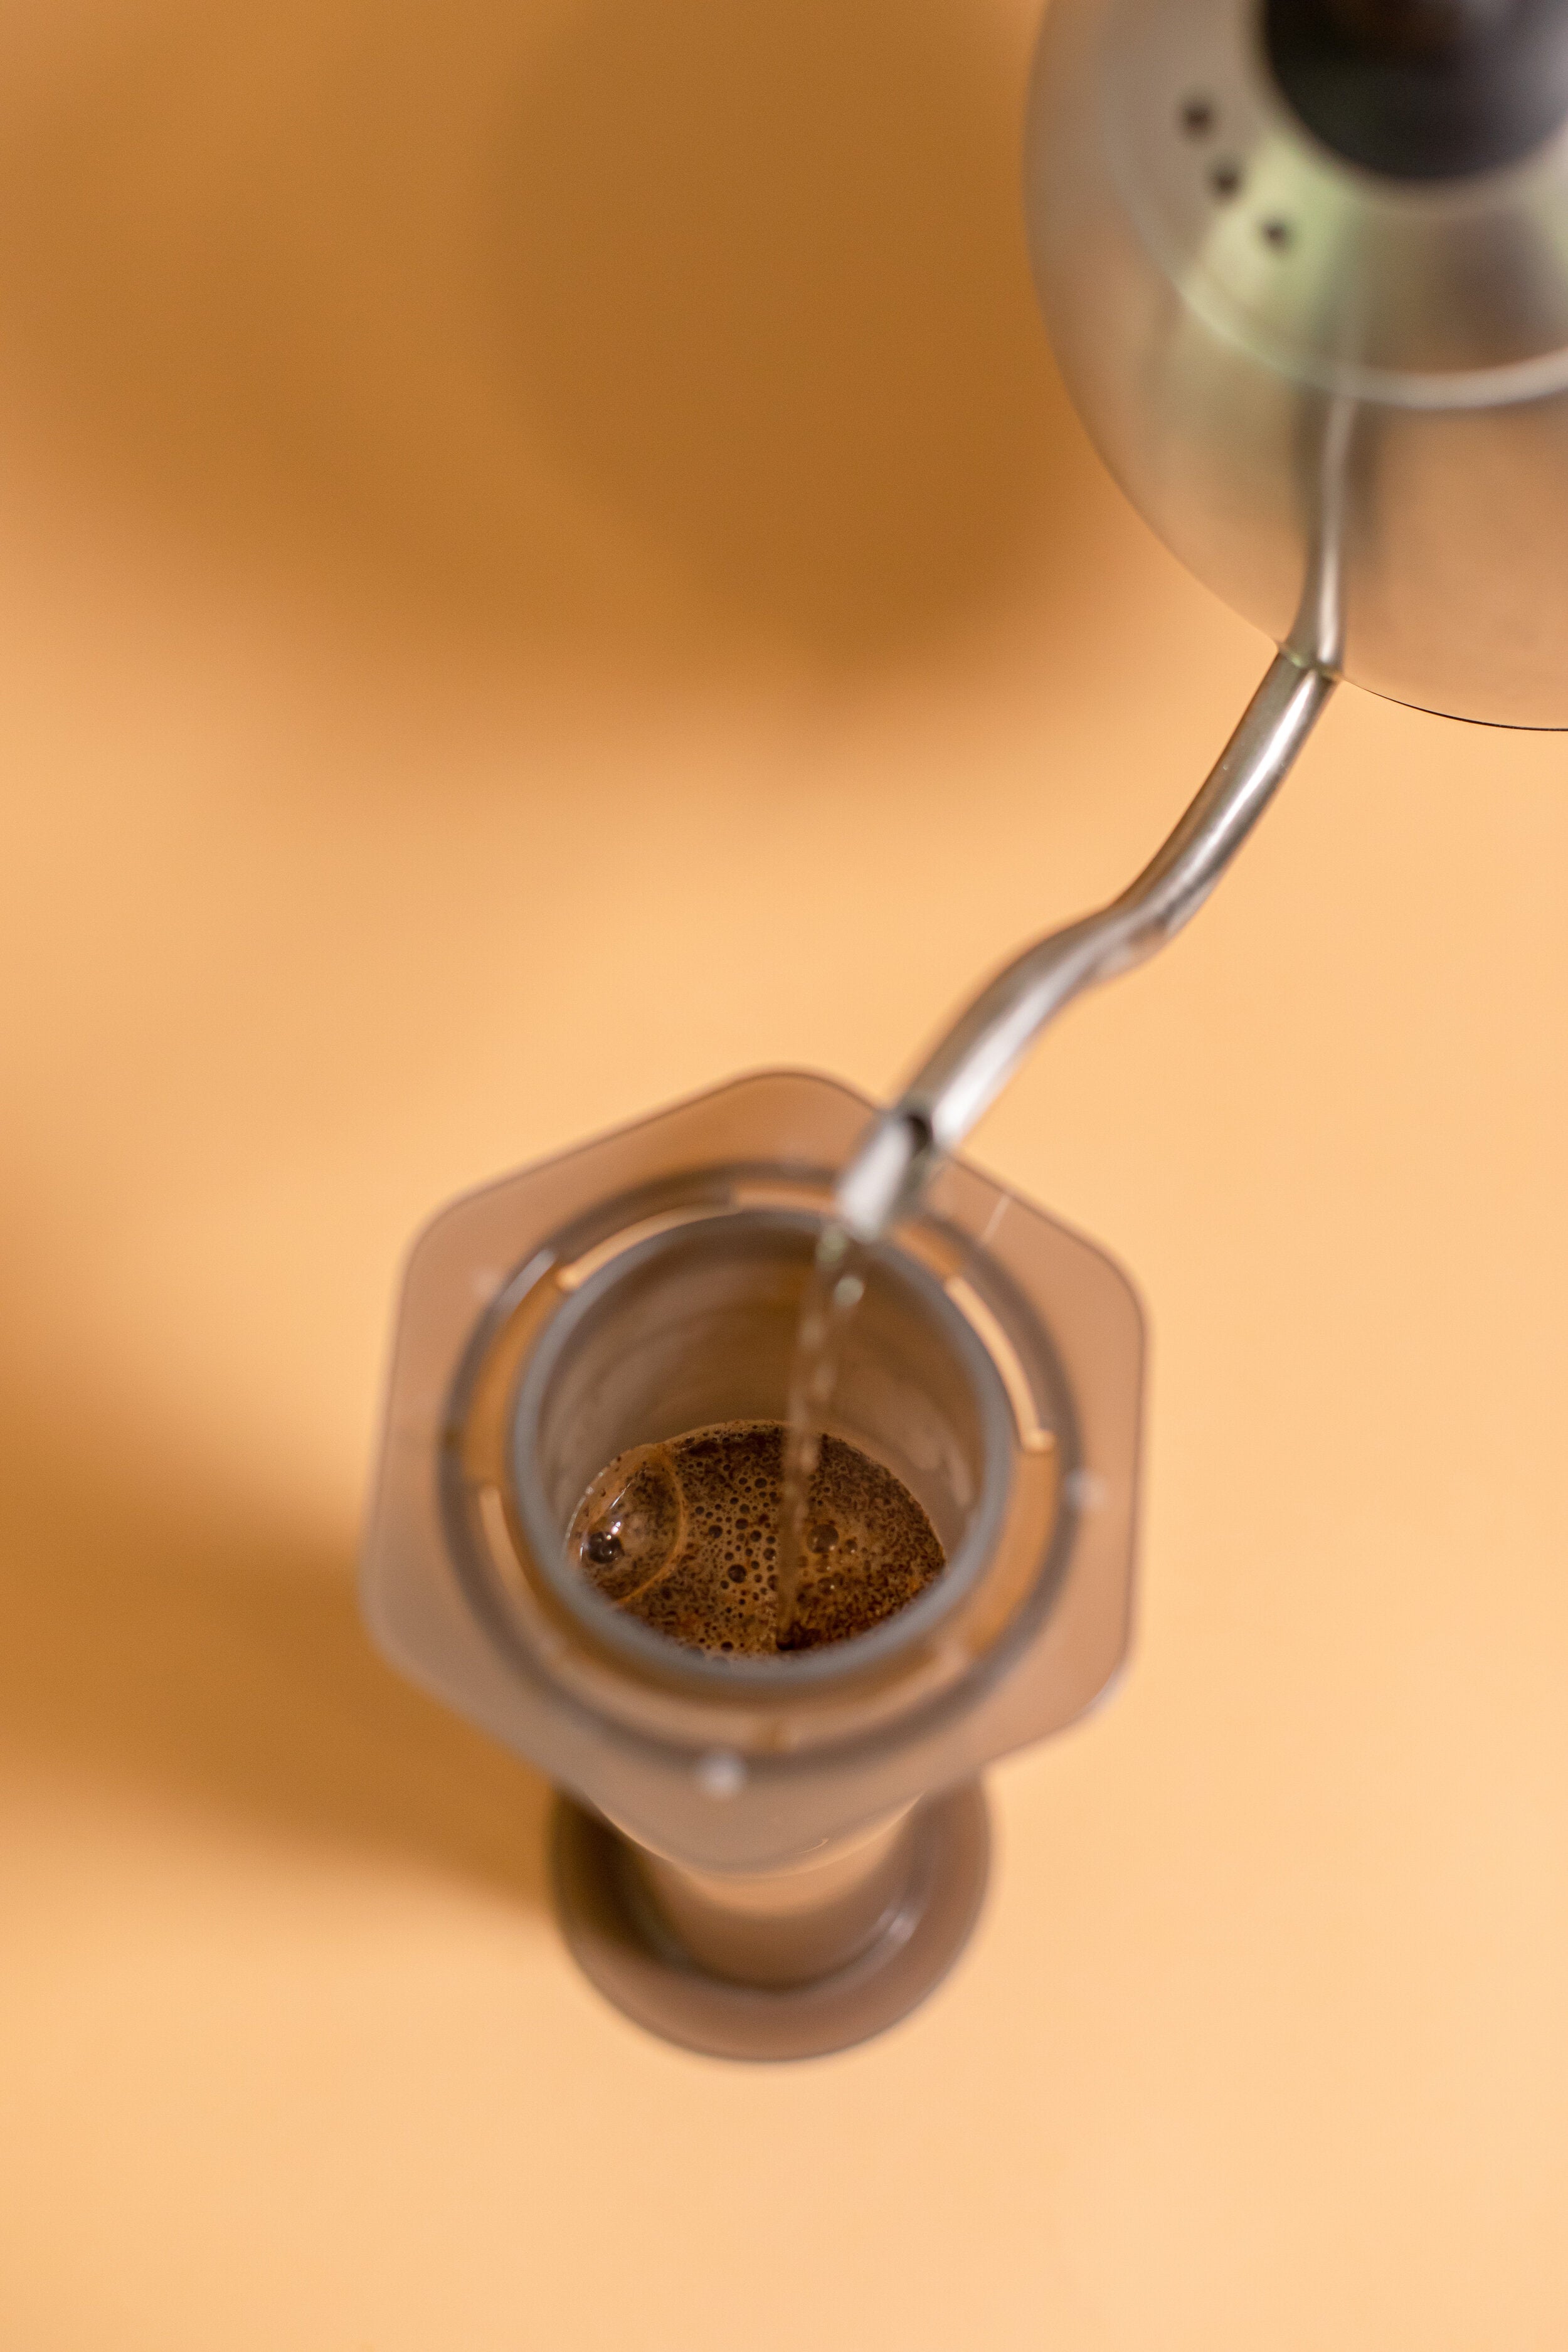
Just after boiling, remove kettle and let water settle. Start timer and pour enough water to just saturate coffee bed.
Aeropress Classic: 30 grams
Aeropress Go: 24 grams
Using the included brew paddle or spoon, gently pat the grounds down so that all grounds are saturated. Let bloom, or expand for 30 seconds.
Pro tip: Allowing the coffee to bloom (or expand before adding more water) ensures even water dispersion and a delicious cup.
After 30 seconds, add water in small circles until the scale reads the final amount. The slurry should just about fill up the entire chamber.
Aeropress Classic: 225 grams
Aeropress Go: 180 grams
Remove assembly from scale.

STEP 4
RINSE FILTER & STIR
While, your coffee brews, place a filter in the filter cap and rinse the filter with hot water from kettle. This will help seal the cap in and also wash away any paper taste the filter might impart.
When your timer reads 2:30, stir vigorously 10 times.
STEP 5
FLIP & PLUNGE
Work quickly: screw the filter cap with filter onto the chamber. Place your cup gently over the inverted AeroPress.
Pro tip: If the mouth of the mug you’re using is too narrow for the Aeropress, you can use the accompanying funnel to make it work. We demonstrate this in our Iced Aeropress Guide.
Flip the Aeropress and mug together until the mug rests on the table with Aeropress on top.
Plunge into the cup. The plunge should last about 30 seconds and your final brew time should be around 3:00.
Pro tip: If plunging is very hard and you are getting a lot of resistance, coarsen your grind. If plunging seems too easy, make the grind finer.

STEP 6
SERVE & ENJOY
Remove the AeroPress and drink up!
We like plunging into the same cup you will be drinking out of — saves time and dishes.
To clean: Unscrew the filter cap and use the plunger to push the grounds out of the bottom. Wash each part and let dry.